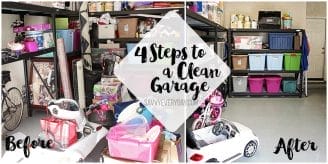
4 Steps to a Clean and Organized Garage
This post was created in partnership with maids. com — Thanks for the support (and motivation to clean my garage)! All opinions are my own.
Though the concept of Spring Cleaning is a bit more popular, I don’t hold off my major home detox until one season a year. With a dog, cat, kid and husband in it my house gets super messy incredibly fast. I’m tired of shoving everything in closets so that the house appears picked up enough for the cleaners to work on the table and floor surfaces during their bi-weekly visits. For this reason, I started going through things in the house with the first major overhaul in the garage because everything I purge from inside the house will end up there until it finds a way to a new home, anyway. Well, that and I don’t want to feel embarrassed every time my neighbor looks into my garage. It’s about then that Maids.com contacted me about partnering on a home organization post — Perfect! I searched their blog (didn’t know they had one before!) for some helpful tips for cleaning my messy garage and found a ton! Here’s a mix of my favorite tips from the cleaning experts themselves at maids.com and my own know-how from tackling my garage (still a work in progress but you should see the Before pic)!

1. Dig In
Like any big project, this one is going to get a bit complicated before it straightens out. But you need to start by going through what you have so you know what’s in there before you can really start with anything else. Make piles so that you can have similar items together, and get a sense of what you’re working with. I’m a clearance shopper who picks up gift items for birthdays and holidays throughout the year then fills up multiple bins with these items so there was a lot to go through there. I found 70 % of the Christmas items I need to gift, put them in Christmas bags and then simply filled up a few bins with these complete gifts! I also discovered I had more stuff than I realized, so this was a much needed dig in.
2. Purge
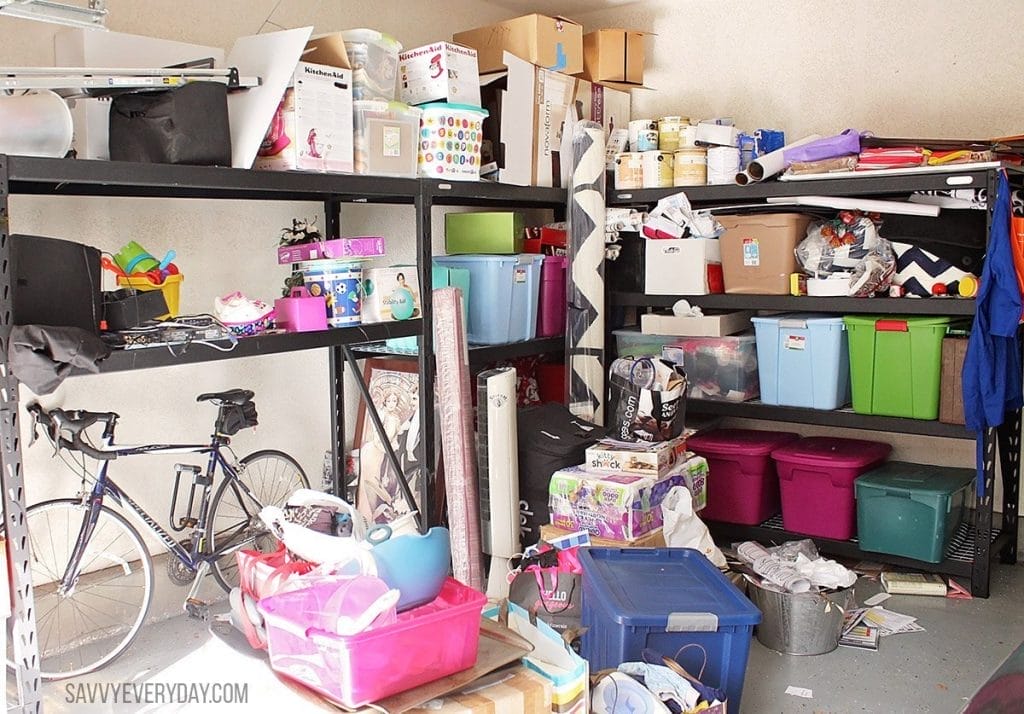
Be sure to ask yourself if you need each item, why you have it and when the last time you used it was while you’re looking through all the stuff in your garage. I opened up all the bins in my garage and took out anything I didn’t really need to hold onto anymore. Do I still need that Moby wrap I used for like a week when S was a baby? No, but I know someone looking for one so I can give it to her. I’m not getting pregnant again any time soon so there’s no reason for me to hold onto so much baby stuff when someone could really use it right now. After figuring out what could go to friends, I made a sell pile and a donate pile. Depending on the item, I’ll try selling it via a Facebook local buy/sell/trade group before I donate it (this is where my spending money comes from). My Before pic shows a few donation piles sitting on the garage floor that I had started. I also went through and threw out a lot of random garbage. I even had a large bin of packing materials I’ve collected from the various shipments I get so it was time to give that away to make room for my actual stuff.
3. Store
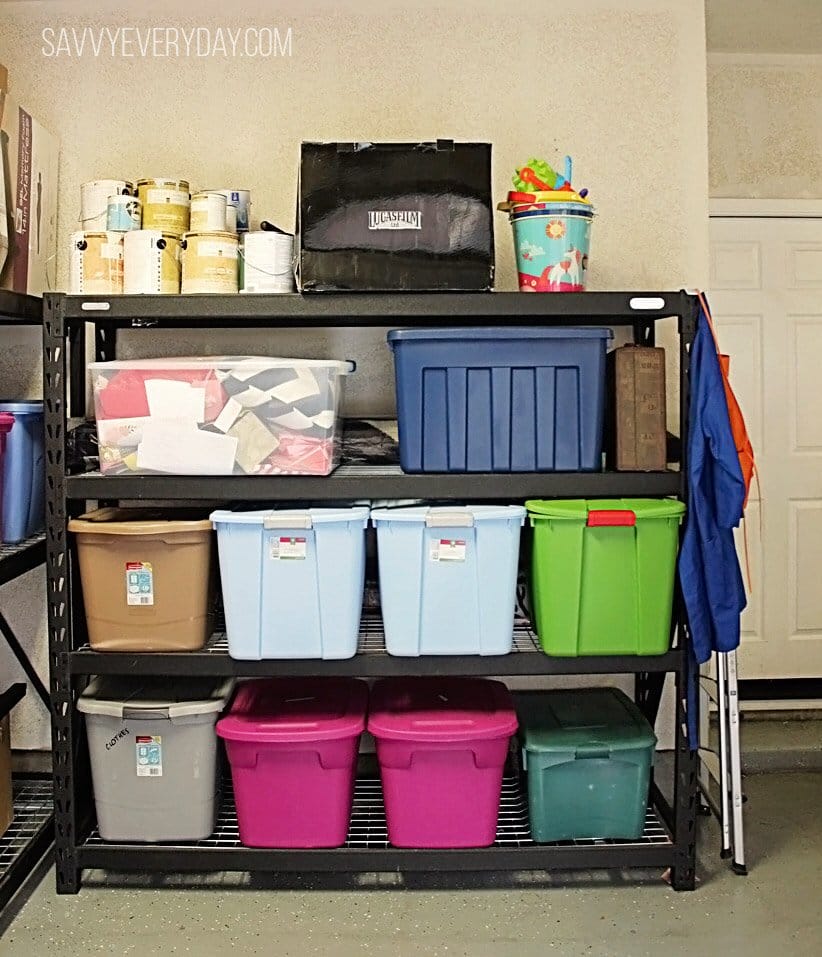
Because there are so many critters in garages it’s important to properly store items in sealed containers on shelves and keep them off the ground. We get roaches, spiders and roof rats during the cold months where I live and I’d rather not find any of those in my stuff (or nesting in one of my messy piles) so proper storage and a clean garage are musts! Thanks to my exterminator, I already find dead roaches all over my garage — All the more reason for me to get my butt in gear and clean things out. Installing high-quality (well, we think so) garage racks is one of the first things we did when we moved into our house so I already had that taken care of, but I didn’t have all of my items properly stored in sealed containers. I had pillows and things that I meant to use in the backyard this Summer just sitting out. I also had a few rugs just standing on the ground, ready to topple over at any moment (again, plan on using outside once we clean the backyard up). I purchased additional storage bins for my outdoor ottoman and pillows, put the rugs up on my racks behind the storage bins and taped boxes closed. I also left room for items that will make their way to the garage once I go through the stuff in the house.
4. Clean Up
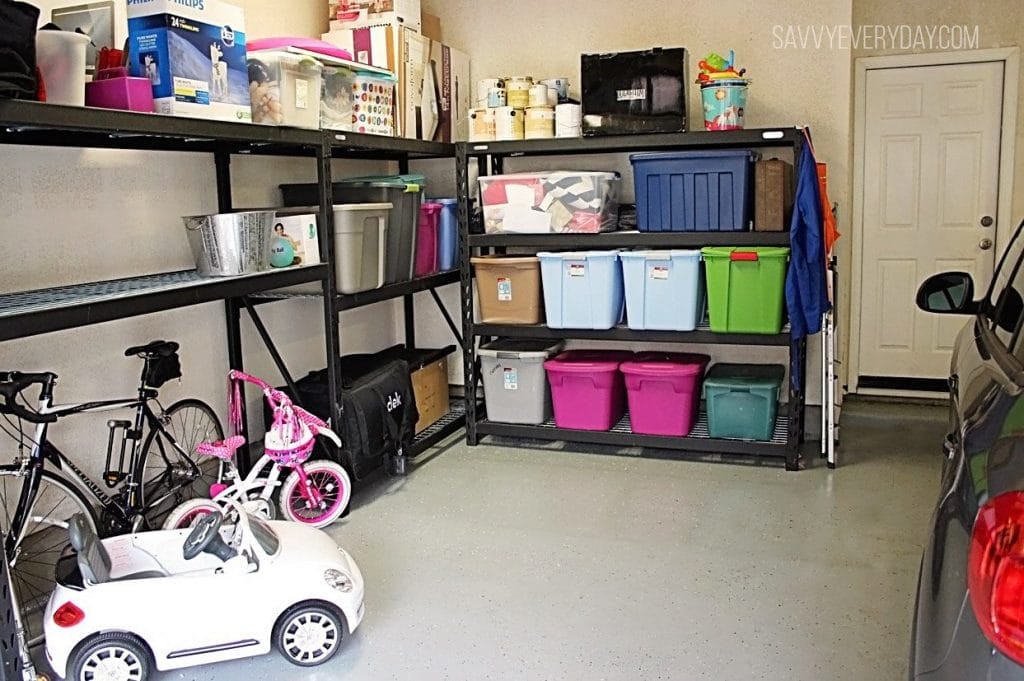
Now comes the real dirty work. Make a giant donation drop off so that those items are off your floor and put all the items you’re going to sell in your trunk (in case you need to meet people for item pick ups) or a storage bin so it’s all out of the way. Sweep your now empty floor and move all those cobwebs, dead bugs, pieces of paper, leaves and what nots into the trash. Follow up with a mop or similar. If you haven’t put your awesome new storage rack up yet (or you got the kind that rolls), this is a great time to move your items out of the garage for a complete floor clean and epoxy. Adding an epoxy on the floor gives it a cleaner look and makes it a bit easier to maintain. Just be sure you don’t skip the gloss coating step. We did and totally regret it. I have another side of the garage to work on yet, and as you can see in my After picture, there’s still a big out of box item on my shelf there since it’s being picked up by someone later this week and it won’t fit in a bin, but I’m pretty excited about the progress!
What’s that? Oh nothing, just a garage you can be proud of. Enjoy your newly organized space (and the extra money you made)! I really hope these tips were helpful. Post your garage cleaning tips or questions in the comments below!
Looking for some DIY garage storage tips? Check out my Beautiful Homespiration Pinterest Board!